Why the order matters more than the list
Expand section
Why the order matters more than the list
A house gets built in one order, and each stage is physically blocked by the one before it, which is the reason a decision made two weeks late can cost a month. You cannot frame over a foundation that has not cured, run duct through walls that are not up, or hang drywall over a rough-in that has not passed inspection. Knowing the sequence is useful; knowing what each stage needs from you before it starts is what actually keeps a build on schedule.
Below is every stage in order for a typical Treasure Valley home, with what it looks like on the ground, roughly how long it runs, and the decisions that have to be settled before it can begin. Durations are ranges, because a build with a walkout basement on a Boise foothills lot does not run like a single-level home on a flat Kuna lot. This article is part of our Boise home building process guide.
Stage one: feasibility and budget
Expand section
Stage one: feasibility and budget
Two to six weeks of establishing whether the house you want, on the land you have or want, fits the money you have. Nothing is drawn yet. We look at the parcel, the utilities, the access, the zoning, and the rough size and quality level you have in mind, and we produce a budget band rather than a bid.
What it looks like: conversations, a site visit, and a set of numbers that may or may not be welcome. Custom homes in the Treasure Valley commonly plan at $250 to $400 per finished square foot excluding land, which puts a 2,400 square foot home between $600,000 and $960,000. Semi-custom runs $225 to $300. If the house you described and the budget you named do not intersect, this is the stage where you find out, and it is much cheaper to find out here.
Before this stage you need: an honest number you are willing to spend, a rough size, and either a lot or a lot search underway. Our lot evaluation checklist is the right reading if you are still shopping.
Stage two: design
Expand section
Stage two: design
Six to sixteen weeks of turning intent into a drawing set, and the stage where you have the most influence per hour spent. Floor plan first, then elevations, roof geometry, window placement, ceiling heights, and the resolution of everything that looks fine in plan and is awkward in three dimensions.
What it looks like: rounds of drawings, markups, and revisions, with pricing checked against the design as it develops rather than at the end. That last part is what keeps a design-build project from producing a beautiful set of plans nobody can afford to build.
Before this stage you need: your must-haves separated from your nice-to-haves, agreement between everyone who gets a vote, and a willingness to hold a decision once it is made. Reopening the plan after each round of family feedback is the single most common way this stage stretches from eight weeks to sixteen.
Stage three: engineering and permitting
Expand section
Stage three: engineering and permitting
Four to ten weeks to assemble the permit package, then several weeks of jurisdiction review, with correction cycles adding more. Structural engineering, energy compliance, the site plan, and utility or septic approvals all come together into one submittal.
What it looks like: almost nothing, from your side. This is the quiet stretch that makes people wonder whether anything is happening. It is, and it is the work that determines whether construction goes smoothly. Design and engineering commonly runs 5 to 12 percent of construction cost, roughly $9,000 to $35,000, excluding land.
Before this stage you need: a frozen plan. Structural engineering priced against a design that then changes has to be redone. See what a new-home permit package contains for the detail.
Stage four: site work, excavation, and foundation
Expand section
Stage four: site work, excavation, and foundation
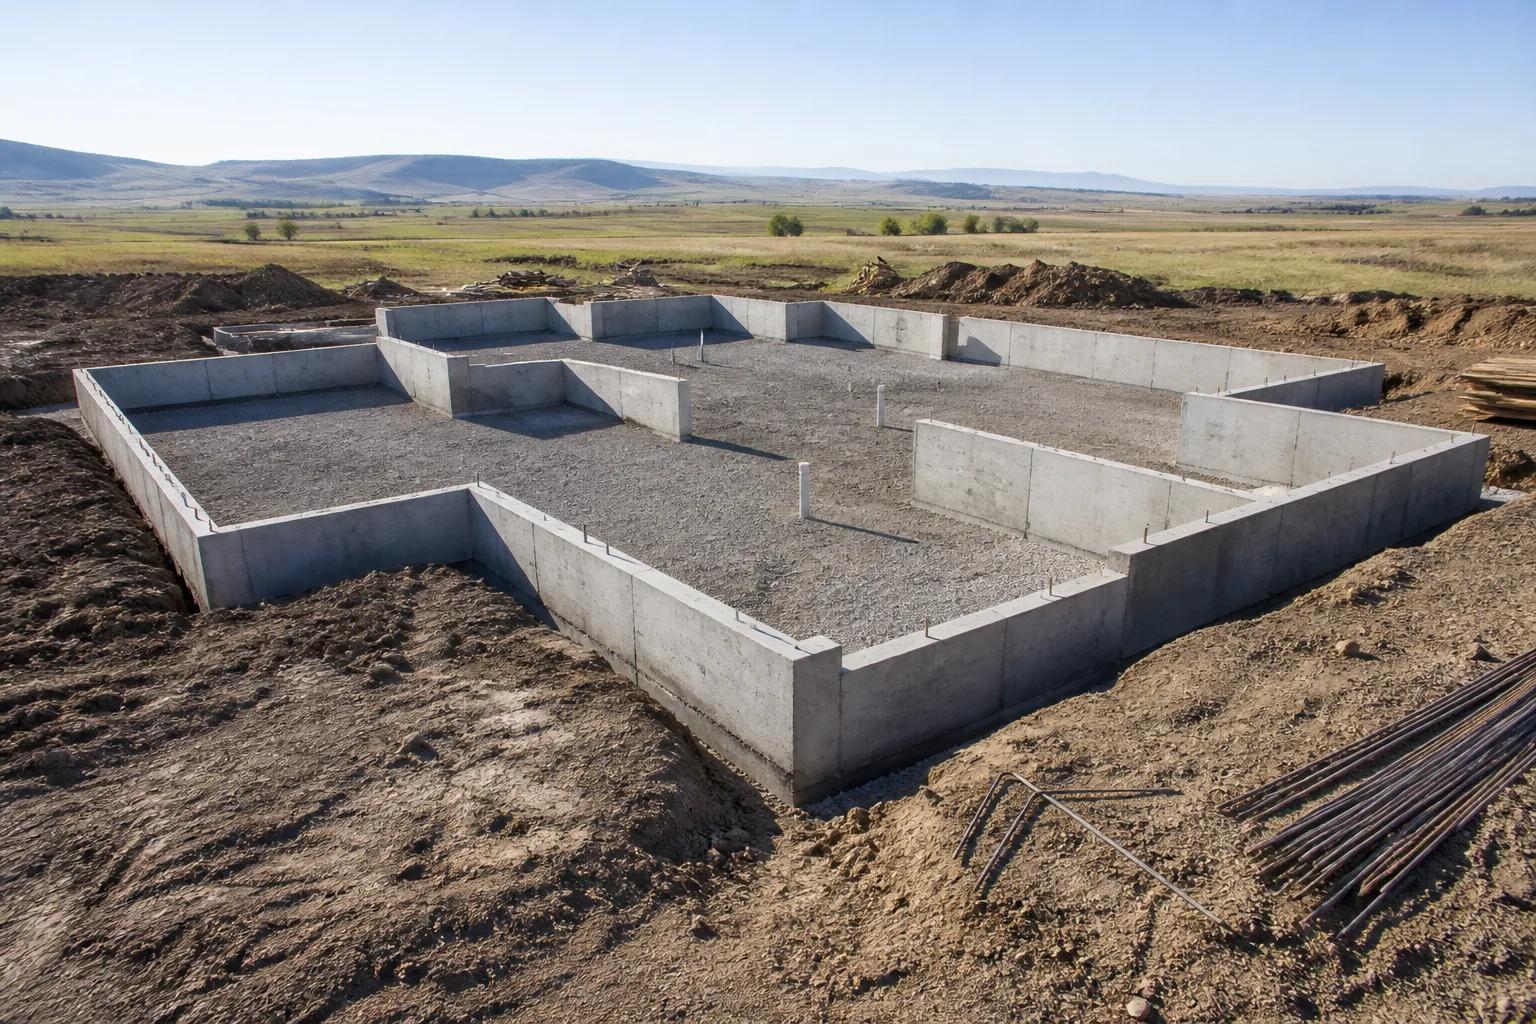
Three to eight weeks on a serviced lot, considerably longer on a rural parcel that needs a well, a septic system, and access. Clearing, staking, excavation, footings, stem walls or slab, waterproofing, underground plumbing, backfill, and rough grading.
What it looks like: the loudest, dustiest, most weather-sensitive stage of the job. A hard freeze or a wet stretch pushes concrete work, and there is no way around that. Site work on a serviced subdivision lot typically runs $25,000 to $50,000. A rural parcel needing a well, septic, and a private access commonly runs $80,000 to $150,000, excluding land.
Before this stage you need: the permit in hand, the final house placement and elevation agreed on the lot, and any basement decision locked. Where the house sits is nearly impossible to change once footings are formed.
Stage five: framing, roof, and dry-in
Expand section
Stage five: framing, roof, and dry-in
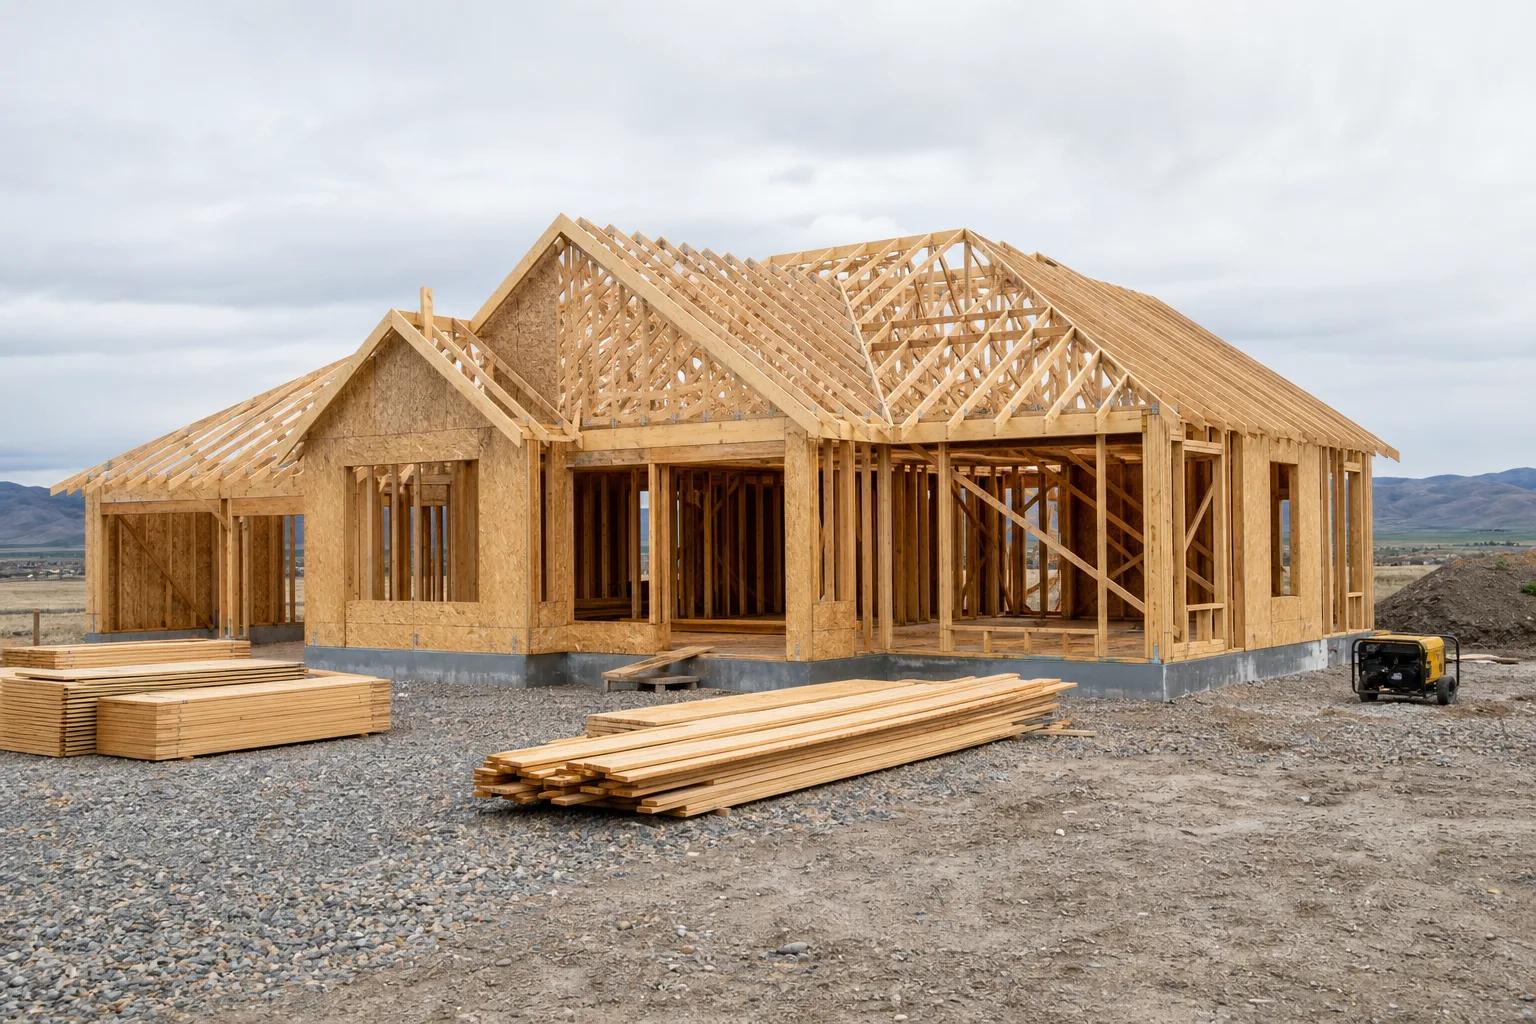
Four to ten weeks from a bare foundation to a weathertight shell, and the stage where the build finally looks like something. Floor system, walls, roof structure, sheathing, roofing, windows, exterior doors, and the weather-resistive barrier.
What it looks like: rapid, then slower. The framing goes up in roughly two weeks and everyone gets excited. Then it appears to stall while the roof and openings are completed, which is the part that actually gets you to dry-in. Dry-in is a real milestone, often a draw milestone on a construction loan, and it is what lets interior work continue through a Boise winter.
Before this stage you need: every dimensional decision settled. Window sizes and locations, exterior door openings, ceiling heights, and the rough locations of plumbing fixtures and appliances. A change here is the most expensive kind, because it touches the structure and everything routed through it.
Stage six: mechanical, electrical, and plumbing rough-in
Expand section
Stage six: mechanical, electrical, and plumbing rough-in
Three to six weeks of three trades working through open framing in a deliberate order, ending in the inspections that gate everything after. Ductwork first where space is contested, plumbing next, electrical filling in around both.
What it looks like: a house that seems to go backward, full of pipe, wire, and duct with nothing finished. This is also your best chance to understand your own house, because everything is visible.
Before this stage you need: your electrical plan, which means outlet and switch locations, lighting layout, and anything low voltage. Plumbing fixture selections need to be far enough along that rough-in heights and locations are right, and any gas appliance locations must be confirmed. This is the stage where a pre-drywall walkthrough pays for itself, which we cover in the walkthrough and warranty post.
Stage seven: insulation and drywall
Expand section
Stage seven: insulation and drywall
Two to four weeks, and the fastest visible transformation in the entire build. Insulation, air sealing, the energy inspection, then board, tape, texture, and prime.
What it looks like: a job site that becomes rooms in about a week. It is genuinely satisfying and it also closes the door on easy changes. Once drywall is up, moving an outlet is a repair rather than an adjustment.
Before this stage you need: every rough-in inspection passed and signed off. Nothing gets covered before it is inspected, and a builder who lets drywall get ahead of an inspection is buying a week now and paying for a month later.
Stage eight: interior finish
Expand section
Stage eight: interior finish
Ten to twenty weeks, the longest stage of the build and the one where most of the visible budget lands. Interior doors and trim, cabinets, tile, countertops, flooring, paint, plumbing and light fixtures, hardware, mirrors, and closet systems.
What it looks like: a slow procession of specialists, each waiting on the one before. Countertops cannot be templated until cabinets are set, and installation follows templating by a couple of weeks. Tile has to be done before some flooring. Paint touch-up happens after almost everything.
Before this stage you need: every selection made and ordered, and most of them long before now. Cabinets, specialty tile, and certain fixtures are frequently ordered months ahead. Choosing finishes without blowing the budget covers which decisions can wait and which cannot.
Stage nine: exterior finish and hardscape
Expand section
Stage nine: exterior finish and hardscape
Three to eight weeks, usually running in parallel with interior finish because it uses different crews and a different part of the site. Siding, stone, stucco, soffit and fascia, exterior paint, gutters, driveway and flatwork, patios, fencing, and landscape.
What it looks like: work happening outside while other work happens inside, which is exactly what a good schedule should look like at this point. The constraint is weather. Concrete flatwork and landscape in a Treasure Valley winter may need to wait, and that occasionally means a temporary certificate of occupancy with a deadline to finish.
Before this stage you need: exterior material and color selections, and a landscape scope that is actually in the contract rather than assumed. Landscape is one of the most common things a homeowner believes is included and finds out is not.
Stage ten: final inspections, walkthrough, and handover
Expand section
Stage ten: final inspections, walkthrough, and handover
Two to five weeks from the last trade leaving to keys in your hand. Final inspections for each trade, the certificate of occupancy, a detailed walkthrough with a written punch list, punch work, and the handover of manuals, warranties, and how the house operates.
What it looks like: methodical, and slower than you want it to be at this point. The punch list is the productive part. You walk the house with us, we write down every item, and those items get closed before or shortly after possession. It is not an argument; it is the process working.
Before this stage you need: nothing new. This is where your job becomes attention rather than decisions. Take the walkthrough seriously, bring a second set of eyes, and do it in daylight.
Where you are in the sequence right now
Expand section
Where you are in the sequence right now
If you are reading this, you are almost certainly in stage one, and the useful next move is a conversation rather than a decision. We will look at your lot or your lot search, put a realistic band around the house you have described, and tell you what the sequence looks like for your specific situation. For the calendar view of the same sequence, read how long a Boise build takes. When you want to start, get in touch and we will walk it with you.