Build it with the house
Tap to expand
Build it with the house
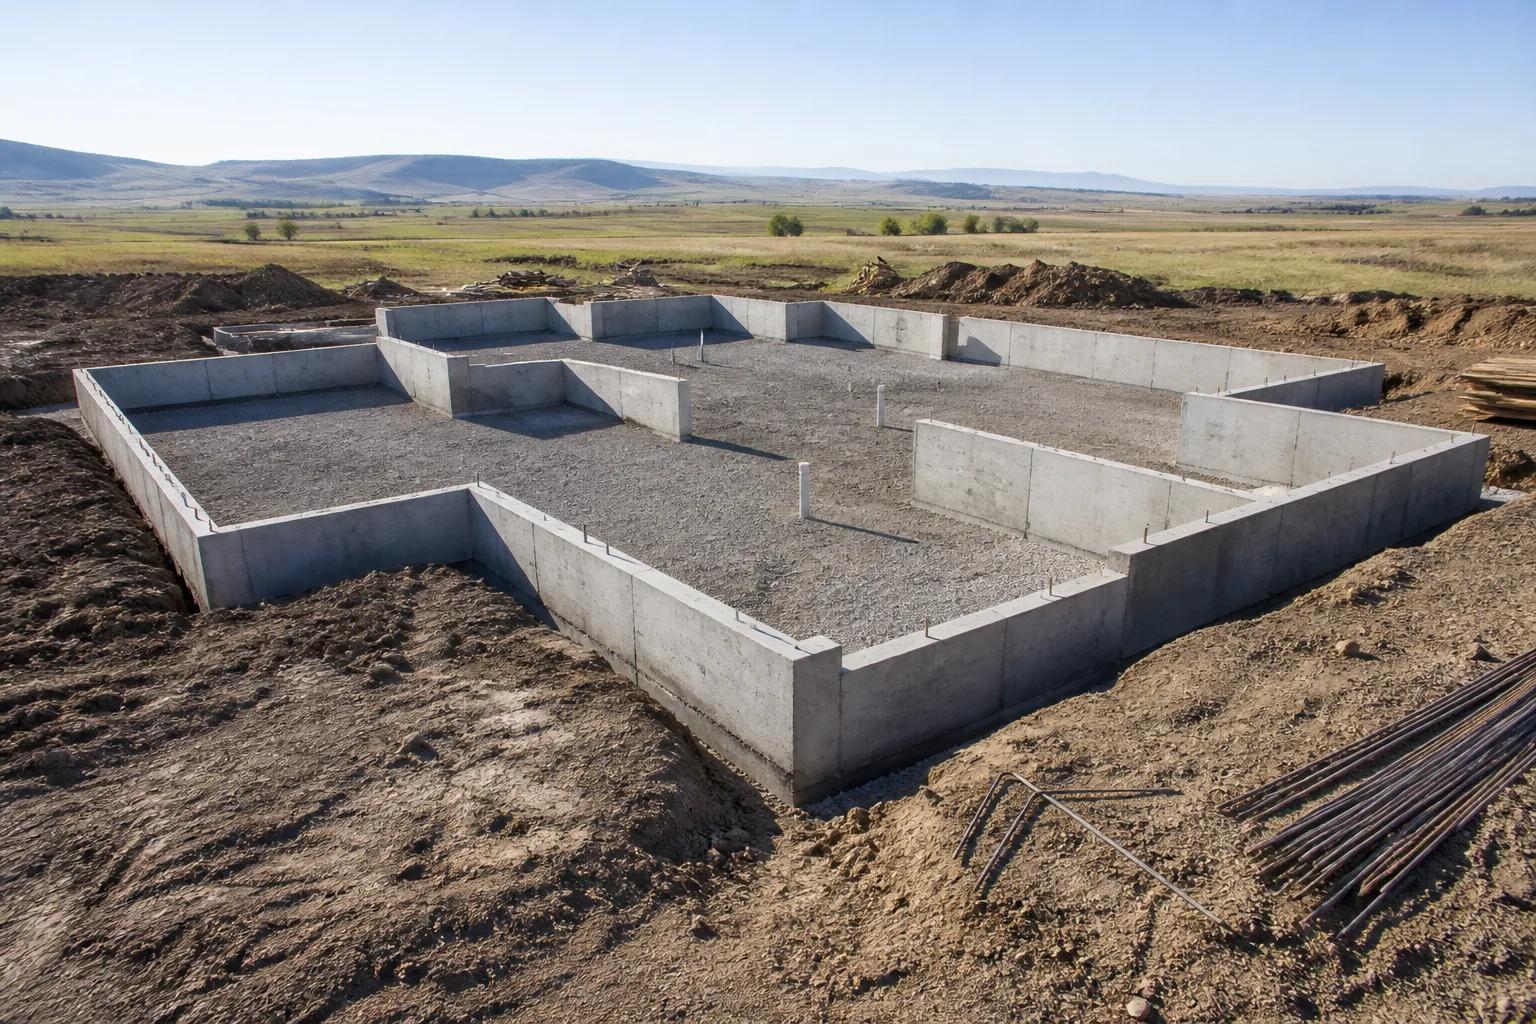
A covered outdoor space built as part of a new home costs a fraction of what the same structure costs three years later, because it shares the roof framing, the footings and flatwork, the siding and soffit work, and one mobilisation of every trade involved. That is not a marketing argument, it is just how construction economics work. When the roof framing crew is already on the roof, extending the structure over a patio is additional material and additional hours in an operation that is already set up. When the concrete crew is already forming footings and pouring flatwork, another set of piers and a slab is an extension of the same day. Come back later and none of that is true. This is the single most common thing our clients cut from the budget during design and the single most common thing they tell us later they wish they had kept. This article is part of our custom home design guide.
What adding it later actually involves
Tap to expand
What adding it later actually involves
A covered patio added to a finished house is a small project that requires nearly every trade on a full build. Somebody excavates footings by hand or with small equipment next to finished landscaping, because a full-size machine cannot get there without damaging what is already in. Somebody cuts into finished siding to attach a ledger, and that attachment has to be flashed properly into a wall assembly that was completed and sealed years ago, which is where a large share of water intrusion problems in this category originate. Somebody ties new roofing into existing roofing, and matching a shingle or metal profile after a few years of weathering is a matter of luck. Somebody matches the siding, the soffit, the fascia, and the paint. Each of those is a separate trade making a separate trip for a small amount of work, and small jobs carry a disproportionate share of overhead. The structure is also independent, so it needs its own footings sized for its own loads rather than sharing the house structure. The result is a project that costs multiples of what the same covered area would have cost during the original build.
Orienting it for valley sun
Tap to expand
Orienting it for valley sun
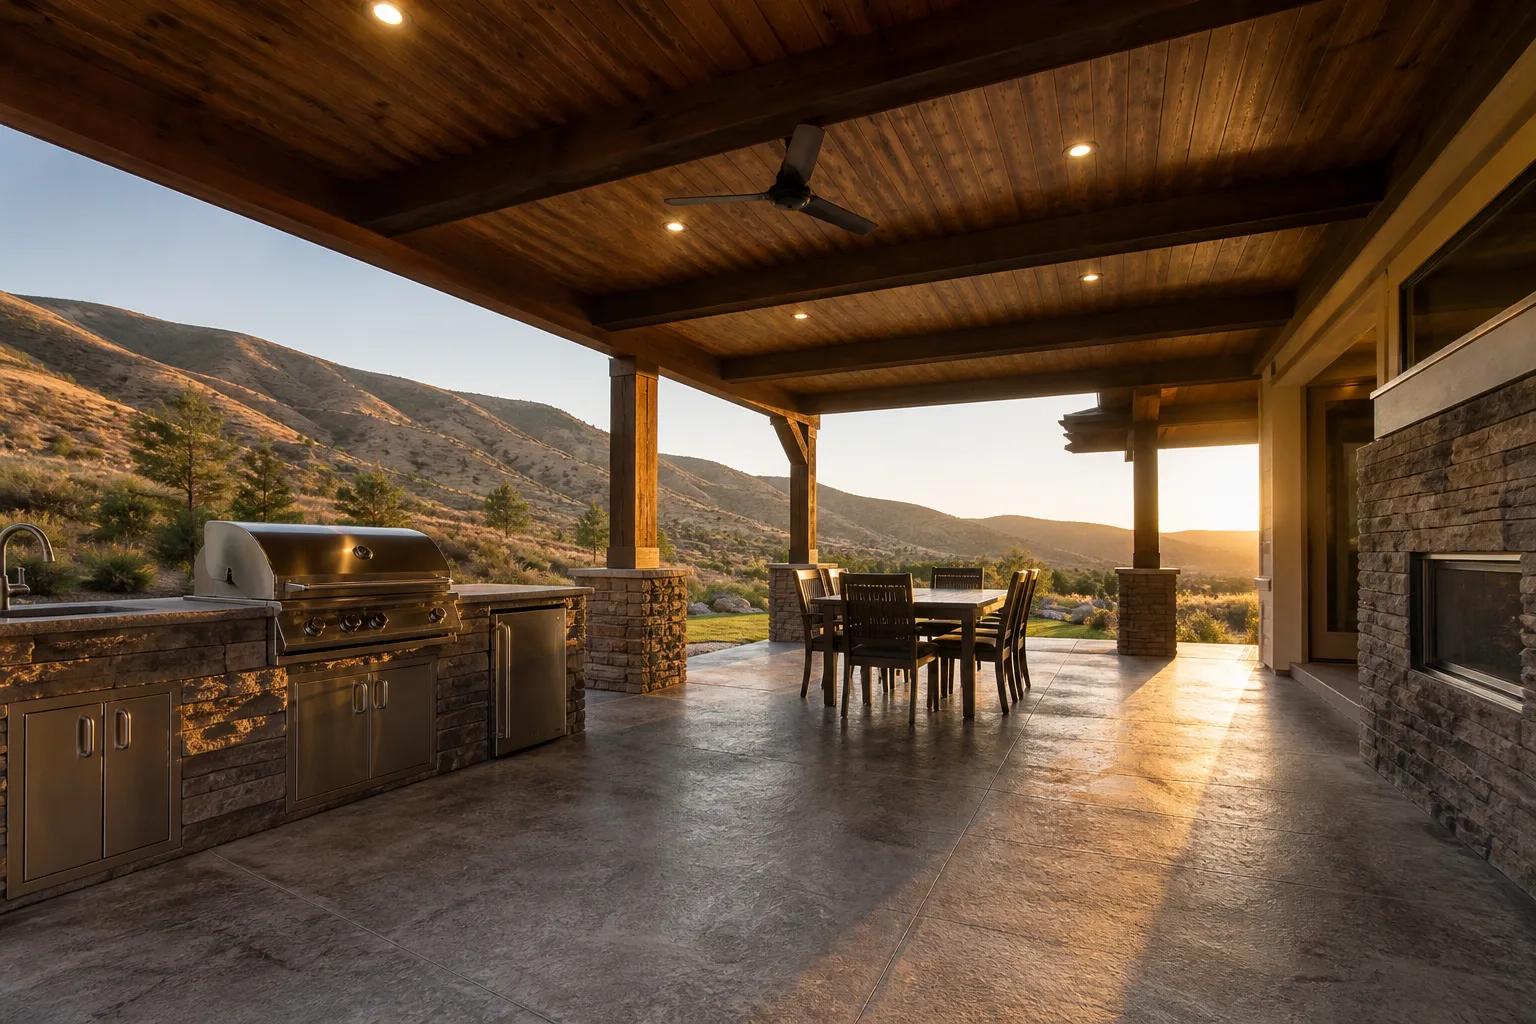
South and east faces make the best covered outdoor rooms here, and west is the one that fights you. Our summer afternoons are hot and the sun sits low in the west from mid-afternoon onward, which means it comes in horizontally under any roof you can reasonably build. A west-facing patio is therefore least usable at exactly the hours people want to use it, from roughly four o clock through the evening in July and August. A south-facing patio behaves much better, because the summer sun is high and the roof does its job, while the lower winter sun reaches under the cover on the days you might want it. East works well for morning use and stays shaded in the afternoon. If the view is west, which it often is on a valley parcel, you can still build there, but plan for it: greater roof depth, a solid or louvred screen on the west end, a pergola extension with deciduous planting, or accepting that the space is a morning and evening room rather than an afternoon one. Orientation drives the plan generally, which we cover in floor plan ideas that work in Treasure Valley homes.
How deep it needs to be
Tap to expand
How deep it needs to be
Ten to twelve feet of depth is where a covered patio stops being a shelter and starts being a room. At eight feet you can fit a dining table, but the chairs on the house side end up against the wall, there is no path behind a seated person, and when the sun drops the useful shaded zone shrinks to almost nothing. At ten to twelve feet, a dining table and a separate seating group both fit, people can circulate, and the shade holds through more of the afternoon. Length matters less than depth. A long shallow cover looks generous on a plan and disappoints in use. Measure it against the actual furniture you intend to buy rather than against a number that sounds reasonable, and allow for the grill, which needs clearance from combustible surfaces and should not sit in the path between the door and the table. Depth is nearly free at design, since it is roof framing and slab rather than finished floor area, and it is one of the few dimensions in a house you genuinely cannot increase later without rebuilding the whole structure.
What to rough in at framing
Tap to expand
What to rough in at framing
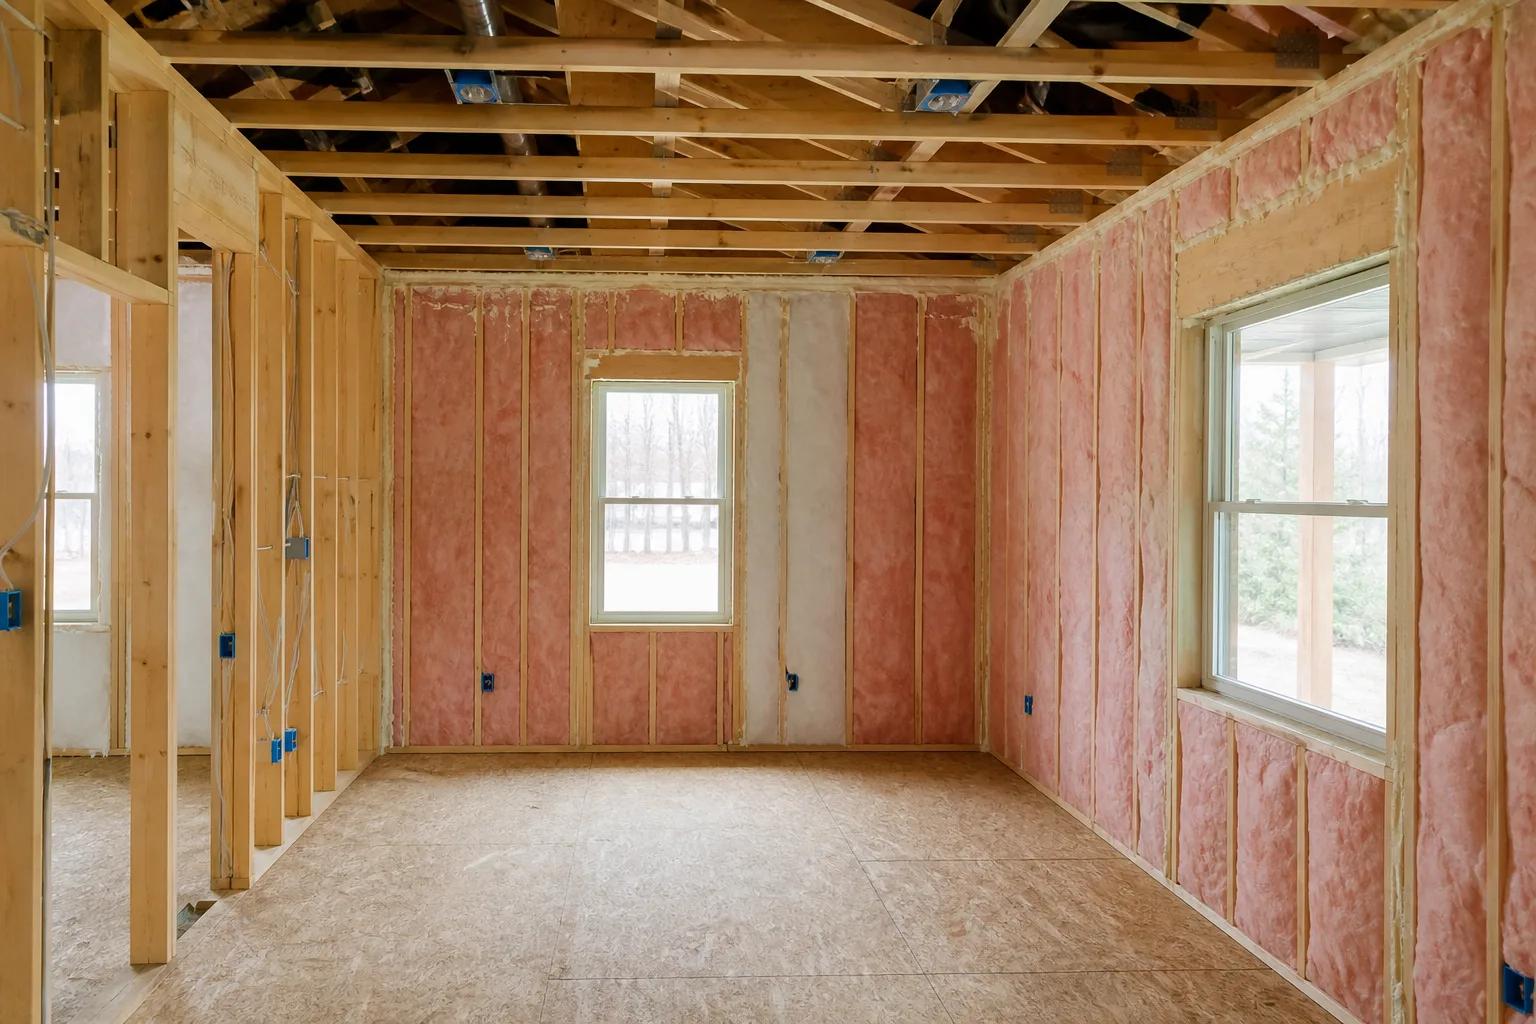
Run gas, water, electrical, and structural blocking now, even for equipment you have no plans to install. This is the cheapest insurance in the project. A gas line to the grill location, and a second stub if an outdoor heater or fire feature is even a possibility, is pipe and labour while the walls are open. A hose bib is standard; a stub for a future sink, with a drain if the site and the plumbing arrangement allow, is a small addition now and a trenching project later. On the electrical side, put in more circuits than seem necessary and make them switched from inside as well as outside, because the alternative is a patio controlled entirely by a switch you have to walk out into the dark to reach. Weather-rated receptacles on more than one wall, a dedicated circuit if a hot tub, heater, or outdoor refrigerator is remotely possible, and conduit run to the far corner for future lighting all belong on the list. Ceiling boxes need fan-rated blocking, not just a box, and a fan makes a genuine difference on a still August evening. Add blocking for a mounted television or speakers wherever they might plausibly go.
How the cover meets the house
Tap to expand
How the cover meets the house
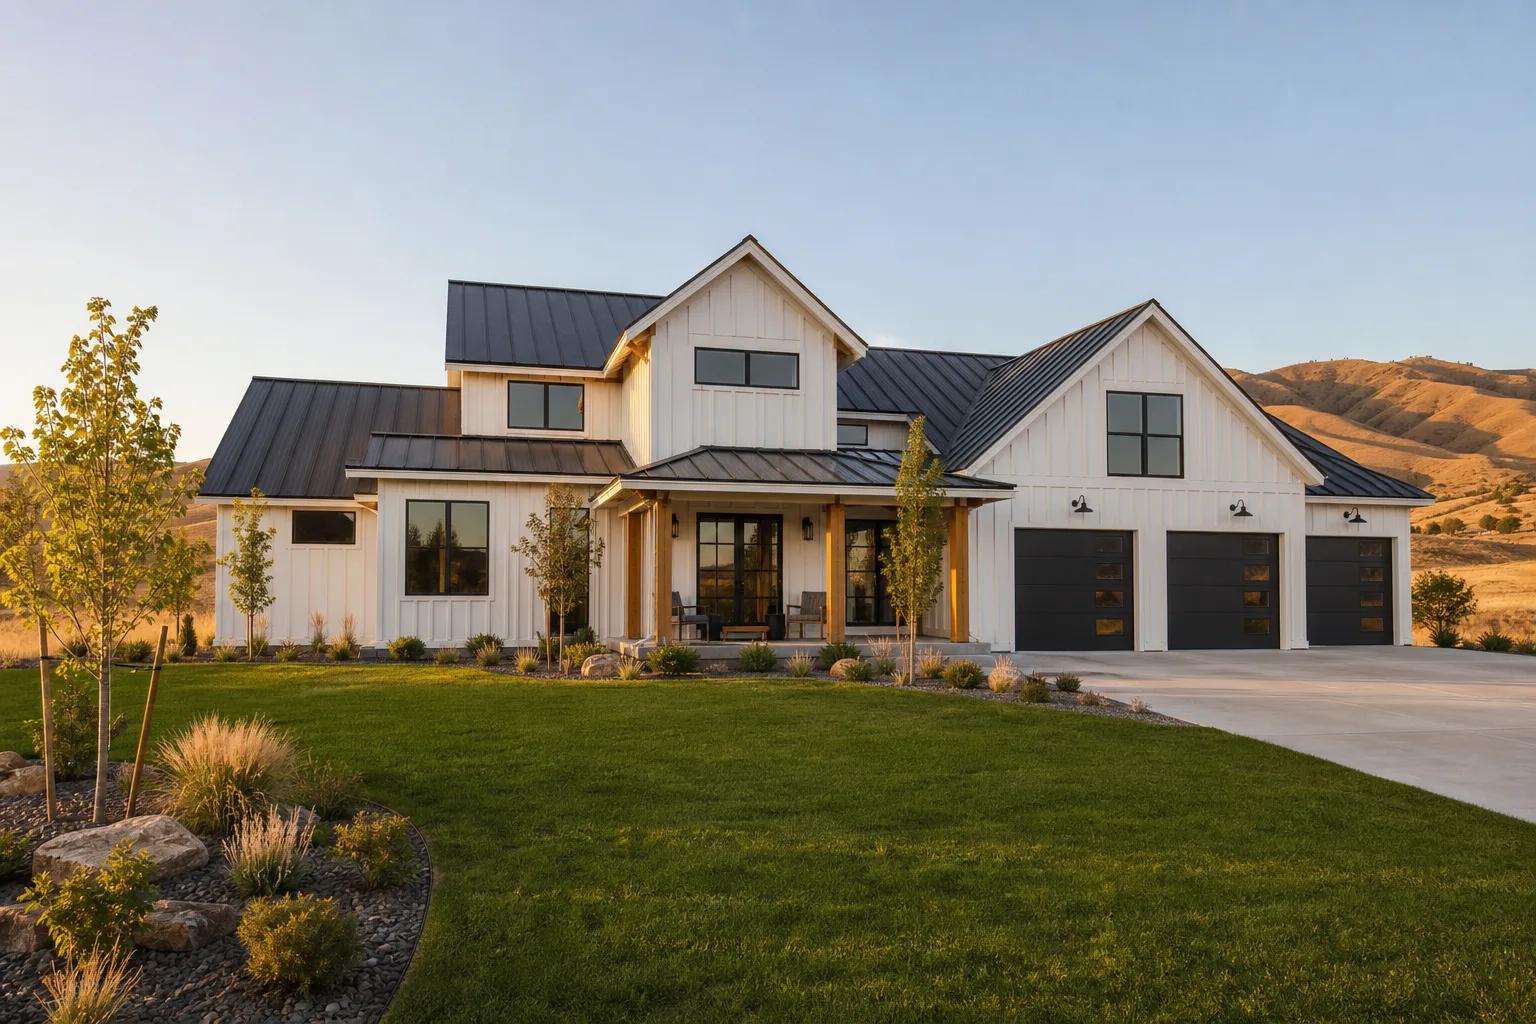
A covered patio integrated under the main roof line looks like part of the house; one attached as a separate shed roof looks attached. Both are legitimate, and the choice has consequences beyond appearance. Bringing the patio under the main roof means the structure, the ceiling plane, and the drainage are all continuous, there is no ledger and no tie-in to flash, and the result reads as a single building. It costs more roof area and can push the roof lower at the eave than you want, which affects head height and light into the house. A separate roof, whether a shed or a gable, gives you freedom to set the pitch and the height independently and to get more light under the eave, at the cost of a junction that has to be detailed and flashed correctly. Whichever you choose, decide the ceiling finish deliberately. An exposed structure with stained timber is a feature; an exposed structure that was going to be finished and never was is a permanent reminder of a budget conversation. And think about where the water goes, because a covered patio concentrates runoff at its edge and that edge is usually right where people walk.
The trade-off nobody mentions
Tap to expand
The trade-off nobody mentions
A deep roof over your south-facing glass will shade the great room in winter as well as summer. This is the honest cost of a generous covered patio and it is rarely raised until someone is living in the house in January wondering why the living room is dim. The shading you want in August is provided by the same structure that blocks the low winter sun you also wanted. There are reasonable answers. A lighter-coloured patio ceiling bounces a surprising amount of light back into the room. Skylights or a section of translucent roofing over part of the cover let daylight through where it matters. Stepping the cover, so it is deep over the seating area and shallower over the main glass, gets most of both. Or you can accept the trade and add interior lighting, which is what most people do. What you should not do is discover it after the fact. Model it during design with the actual roof depth and the actual glass, and make the decision knowingly. The same reasoning about glazing and orientation applies to the house as a whole, and it is covered in building an energy-efficient home in Boise.
Screened or open
Tap to expand
Screened or open
Decide this before framing, because a structure built for screen looks intentional and a structure adapted for it never quite does. Screening earns its place on parcels near irrigation canals, ponds, or pasture, where summer evenings bring insects that will drive you indoors regardless of how nice the space is. It also cuts wind and the fine agricultural dust that moves across the valley in late summer, and it makes the space usable for eating without covering everything. The cost is the view, some airflow, and a structure with more visible framing, since screen needs a frame to sit in. Retractable or motorised screens are a middle path that works well: open when you want the view, closed at dusk, and they can be specified as a rough-in now and installed later if the pockets and headers are framed for them. That is the version we usually recommend when someone is undecided, because it preserves the option cheaply. A fully open patio remains the right answer for a view lot where the space is used in daylight and the insect pressure is low.
The floor, the drainage, and the freeze
Tap to expand
The floor, the drainage, and the freeze
Slope the slab away from the house, control where the water goes, and detail the surface for freeze and thaw. A covered patio still gets wet. Rain blows in at the edges, snow melts off the roof onto the perimeter, and the whole slab sits at the low point where the house meets the yard. That means positive slope away from the foundation, a plan for where the runoff from the patio roof discharges other than the ground immediately beside the footing, and attention to the transition between the interior floor and the patio surface. If you want a flush or nearly flush threshold, which makes the indoor and outdoor spaces feel like one room and helps with accessibility, it needs a drainage detail rather than just a lower slab. Surface choice matters in our climate because water gets into the surface, freezes, and expands. A well-finished and properly sealed concrete slab handles this well. Tile or stone over a slab needs an exterior-rated setting system and a surface that is not slick when wet. And if you are pouring the slab anyway, this is the moment to decide whether it should be thickened where a hot tub might one day sit.
How to treat it in the budget
Tap to expand
How to treat it in the budget
Covered outdoor space is not finished square footage and does not price like it, but it is not free either, and it belongs in the line-item budget rather than in a wish list at the end. The mistake we see most is treating the patio as the flexible item that absorbs every other overrun. It gets shortened from twelve feet to eight, then to a small entry cover, then deleted, and the money goes into a finish upgrade that could have been made in ten years for a fraction of what the patio will cost to add. Our advice is to protect the structure and the rough-ins, and to economise on the finishes instead. Build the full depth, run the gas and the circuits, block for the fans, and then, if the budget is tight, leave the ceiling simple, use a plain sealed slab, and buy the outdoor kitchen later. That sequencing gets you the expensive part now and defers the cheap part. For how the rest of a build budget behaves under pressure, see what actually drives home building costs in Boise.
Get it on the plan set
Tap to expand
Get it on the plan set
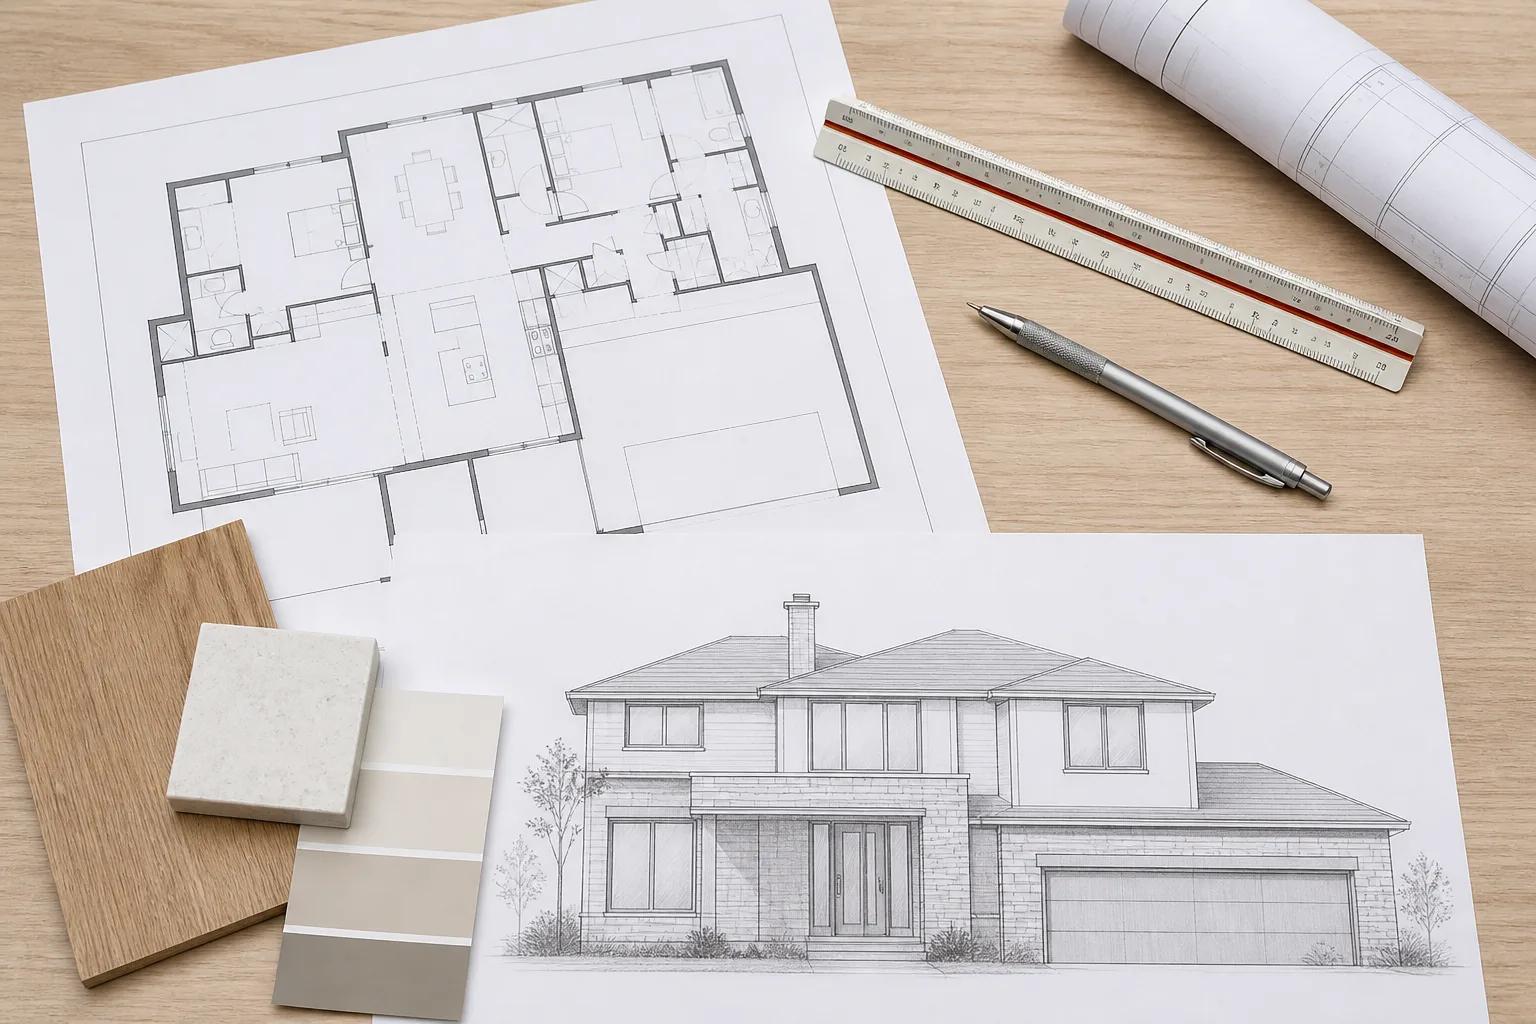
A covered patio only works if it is drawn with the house, structurally integrated, oriented deliberately, and roughed in before the walls close. We treat it as part of the plan rather than as an add-on, and we price it as a line item so you can see what the depth, the ceiling, and the rough-ins actually cost. Run your plan through the estimator to get a starting range, see how we work in custom home building, or talk to us about how you actually want to use the space.